TurboHub's Intelligent Performance feature for WordPress
This article discusses TurboHub’s Intelligent Performance feature for WordPress.
About Intelligent Performance
TurboHub's Intelligent Performance (IP) feature enables you to optimize WordPress sites without any downtime and with just a single click. IP applies optimized presets and image compression to instantly improve site speed and performance. At each step, IP displays an updated PageSpeed score so you can see how your site is performing in real-time.
Intelligent Performance requirements
Before enabling Intelligent Performance, make sure your hosting account and WordPress site meet the following requirements:
- PHP version 7 (or newer).
- WordPress 5.6 (or newer).
- Confirm your domain is hosted at A2 Hosting.
- Intelligent Performance currently only supports single installation sites. WordPress multisite networks are not supported.
- Content Delivery Networks (CDNs) are currently not supported during the optimization process. Before running Intelligent Performance, please temporarily disable Cloudflare on your account. For information about how to do this, please see this article. You can re-enable Cloudflare after the optimization process is complete.
- You can only run IP on a site once. Alternatively, you can roll back changes made by IP, and run it again.
Enabling Intelligent Performance
To enable Intelligent Performance for a site, follow these steps:
- Log in to the Customer Portal.If you do not know how to log in to the Customer Portal, please see this article.
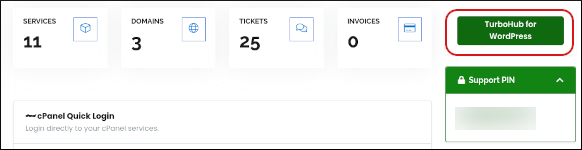
- On the right side of the page, click TurboHub for WordPress:
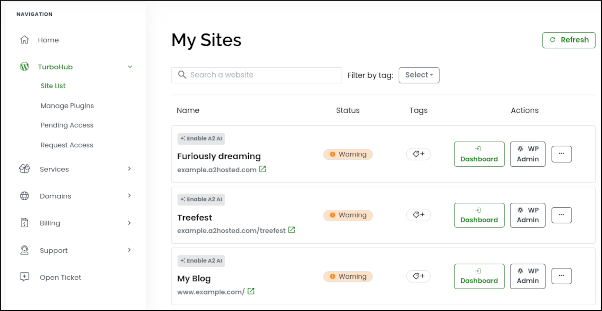
- The TurboHub dashboard appears with all of your WordPress sites:
- Click Dashboard for the site you want to optimize.
- Click Performance:

- In the Boost Performance section, click Start.
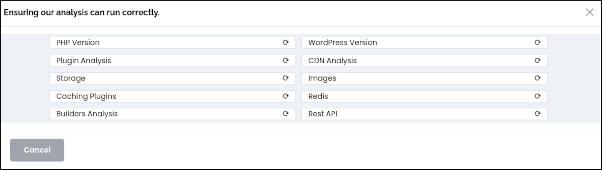
IP checks that your site meets the requirements as described in the previous section:
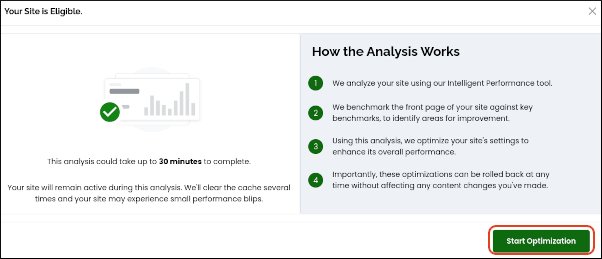
Click Start Optimization:
Phase 1 begins:

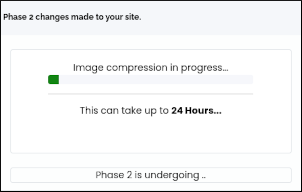
When Phase 1 is complete, Phase 2 begins:
If you want to undo the changes IP made to your site, click Roll Back:

Article Details
- Level: Beginner
Grow Your Web Business
Subscribe to receive weekly cutting edge tips, strategies, and news you need to grow your web business.
No charge. Unsubscribe anytime.
Did you find this article helpful? Then you'll love our support. Experience the A2 Hosting difference today and get a pre-secured, pre-optimized website. Check out our web hosting plans today.