How to Integrate Your WordPress Site with Buffer (In 5 Easy Steps)
As a business owner, maintaining a social media presence is critical for growing your brand. However, posting every day can be quite time-consuming. Between Facebook, Twitter, and LinkedIn, just sharing a blog entry once per day can take up to half an hour – time that busy entrepreneurs don’t have to spare.
Fortunately, there’s a way to write social media posts ahead of time, right within WordPress. Buffer is a social media tool that enables you to schedule posts to multiple platforms from one easy location. That way, you don’t need to take the time to log into each account and separately format each post.
This article will teach you how to use Buffer alongside WordPress, using the WordPress to Buffer plugin. Let’s get going!
An Introduction to Buffer
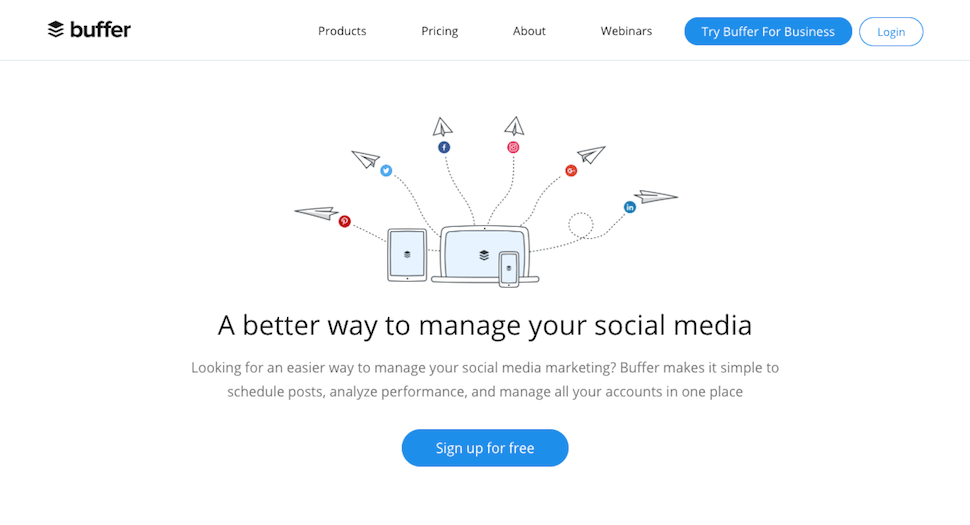
You’ve probably heard that posting consistently on social media is important for success online. When clients check your profiles, they should see some recent activity. Also, since social media algorithms mean users may only see your updates if they happen to be logged in when you post, you should be aiming for at least one update per day on each platform you target.
However, setting up this many social media posts can be time-consuming. Even if it only takes you five minutes to schedule one post, if you multiply that by three platforms, five times a week, it can easily add up to over 60 hours in a year.
Buffer is a way to schedule all of your social media content from one convenient place. This can be an excellent time-saver for busy entrepreneurs. Buffer can be used with any website platform, but in this article we’ll focus specifically on how to integrate it with WordPress, using the WordPress to Buffer plugin:
WordPress to Buffer’s time-saving features include:
- Schedule social media posts directly from your blog: When you create a new blog post, you can draft a social media update and schedule a time for it to go live.
- Draft unique messages for multiple platforms: You can write a message and choose imagery for various platforms at the same time.
- Schedule multiple posts at once: For each blog post, you can draft as many unique messages as you want, to post at set intervals in the future.
- Increase your existing content’s lifespan: You can refresh old content by taking existing WordPress posts and promoting them on social media again.
This plugin offers a free version that enables you to post one message across multiple platforms. However, to access some of the more advanced features, such as the option to customize messages for each platform, you’ll need to upgrade to the pro version. Pricing for one site starts at $39 per year.
To use either version of WordPress to Buffer, you’ll also need a Buffer account. Buffer is free to use with up to three platforms and up to ten scheduled posts at a time per account. The pro version, which starts at $15 per month, can connect to up to eight accounts and accommodate up to 100 posts per account.
How to Integrate Your WordPress Site with Buffer (In 5 Easy Steps)
Now that you know why you might want to use Buffer with your WordPress site, let’s go over how to integrate the two platforms.
Step 1: Create a Buffer Account
First, you’ll need to sign up for a Buffer account:
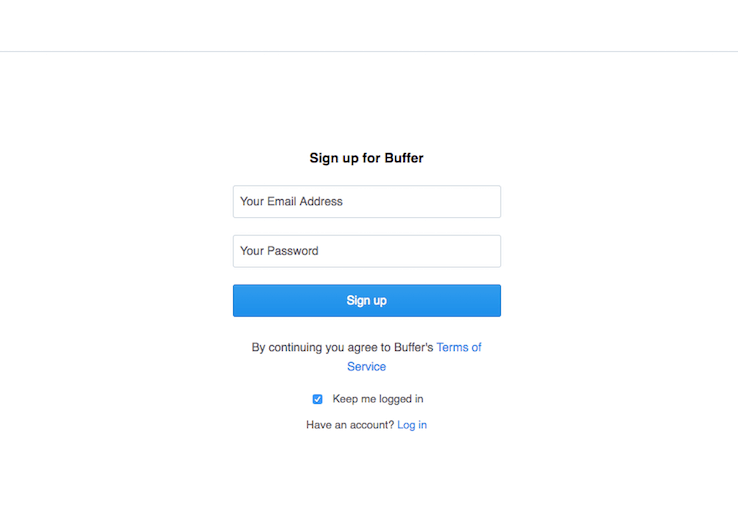
You can opt to get started with a free account for now, and upgrade at any point in the future if necessary. Once you’re signed in, you can start connecting your site’s social media accounts right away:
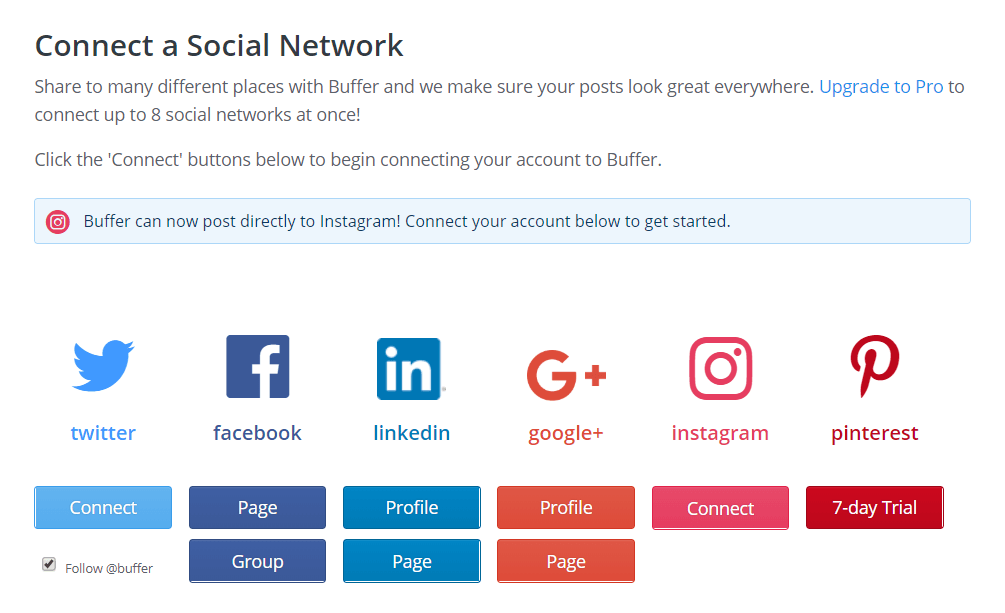
Simply click on the buttons for each platform you’re interested in targeting. Follow a few simple prompts, and you’ll be up and running in no time.
Step 2: Install the WordPress to Buffer Plugin
Next, you can perform a one-click install of the integration plugin’s free version. Go to your WordPress dashboard, and navigate to Plugins > Add New. On that page, search for “WordPress to Buffer”:

Click on the Install Now button, give the plugin a few moments to work, and then hit Activate. WordPress will redirect you to your Installed Plugins page.
Step 3: Connect Your Buffer Account to WordPress
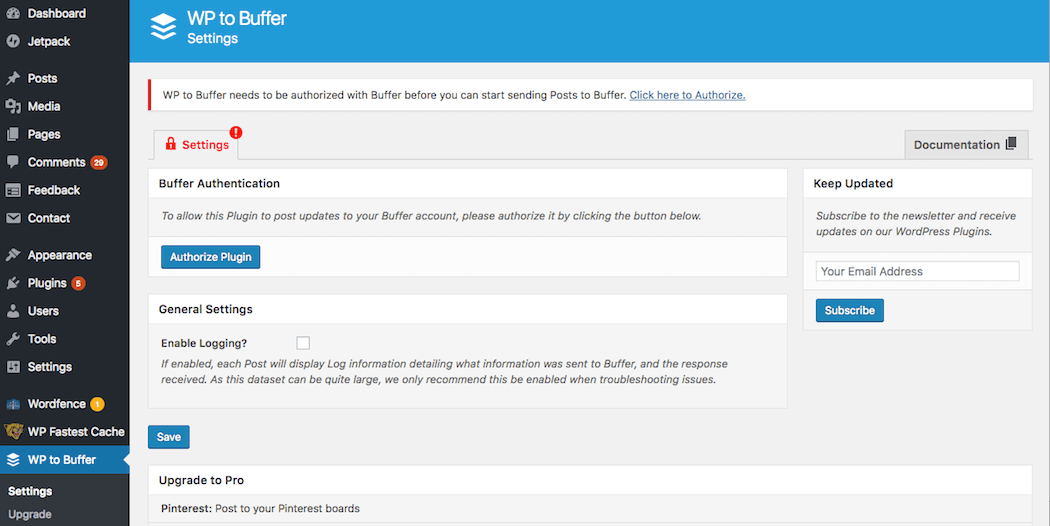
At this point, you should see an item in your dashboard sidebar labeled WP to Buffer. In this new menu, open up the Settings tab, and click on Authorize Plugin:
On the next screen, select Allow Access:
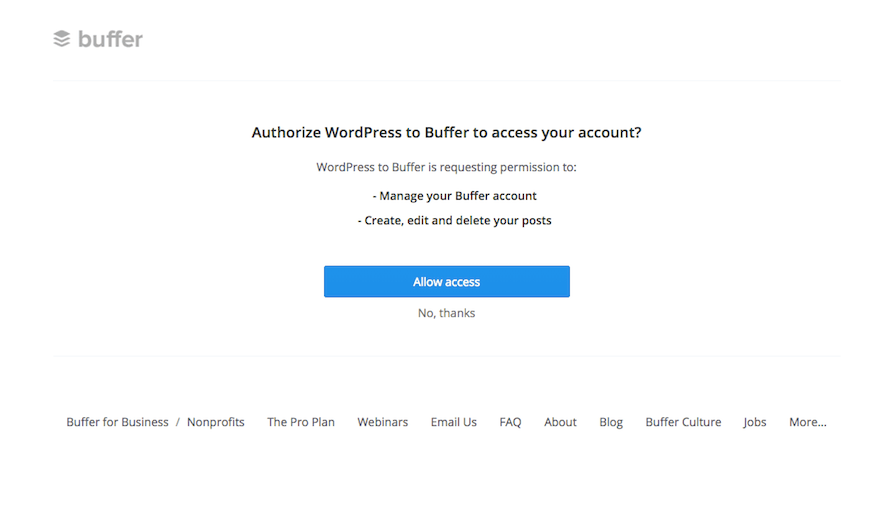
Then, simply follow the prompts to log in to your Buffer account and connect it to your WordPress site.
Step 4: Configure Your Settings
Now that the plugin is set up, it’s time to configure how it will work. From the WordPress to Buffer > Settings screen, click on the Posts tab at the top of the page:
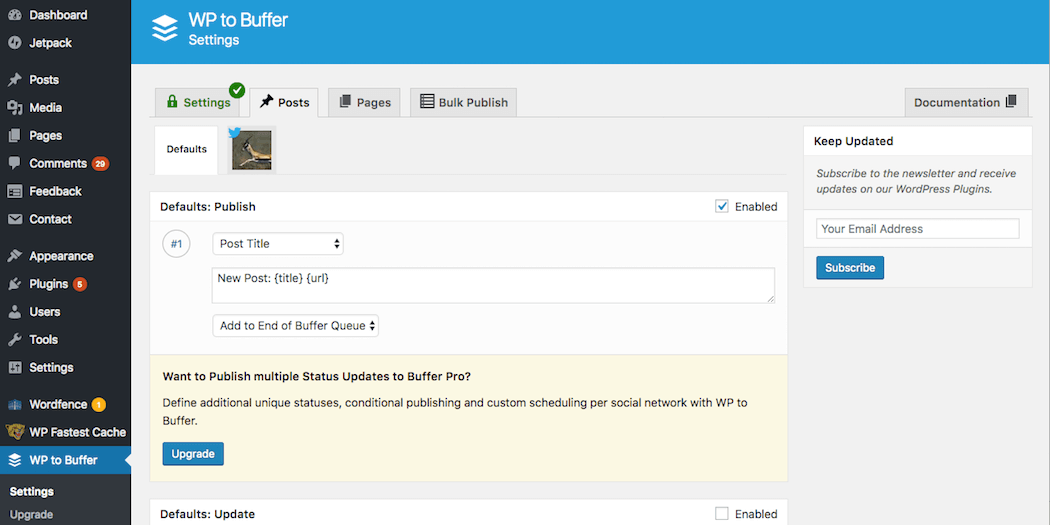
Here, you can follow a few more prompts to customize your plugin settings. You can select your default accounts from anything you’ve connected to Buffer, for example.
You can also create the default message that will be shared when you post a new piece of content, such as New Post: {Title} {URL}. The bracketed fields will be replaced with each post’s details. You can add new fields by choosing them from the drop-down menu. Alternately, you can simply type in whatever you’d like to include.
Next, you’ll also want to check out the Pages tab to customize a few more settings. Most importantly, you can choose whether WP to Buffer should create social media updates when you publish new pages as well as posts. If you enable this setting, you’ll then be able to create a custom message for those updates.
Step 5: Start Sharing
By now, you’re ready to start sharing your blog content on social media. Any time you publish a new post (and potentially a new page), one or more updates will be added to the end of your Buffer queue:
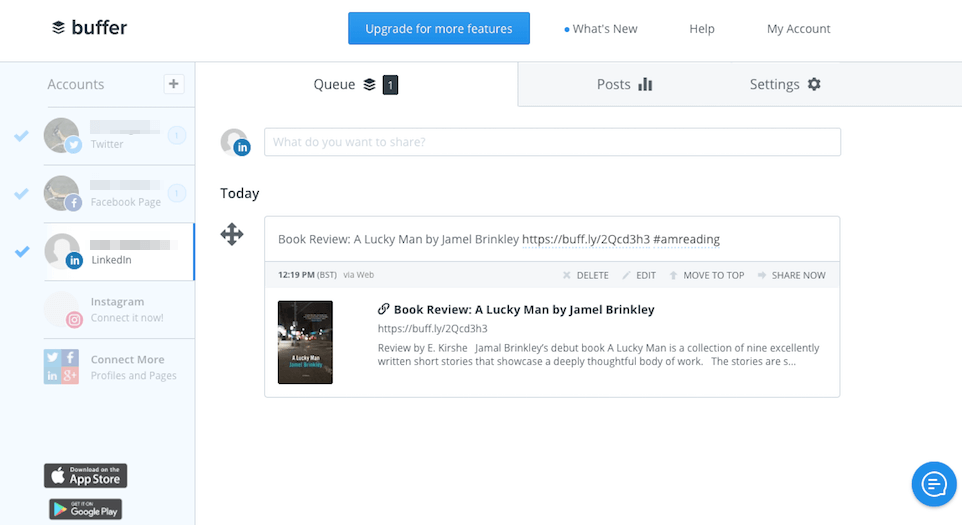
If you set up a posting schedule on Buffer’s website, these posts will automatically publish during your next empty time slots. This means you can focus in on creating quality content, and let the plugin (and Buffer) do the rest.
Conclusion
Sharing daily social media posts across multiple platforms can be quite involved. Fortunately, you can save time by using the WordPress to Buffer plugin, which will share posts automatically whenever you create new content. This enables you to keep all your social accounts active from one central location.
You can set this feature up by following the five easy steps outlined above:
- Create a Buffer account.
- Install the WordPress to Buffer plugin.
- Connect your Buffer account.
- Configure your settings.
- Start posting.
Image credit: Pexels.
