How to Customize WordPress Site Using Beaver Builder Plugin (3 Key Tips)
Whether you’re an individual with a small business or a seasoned professional, building and maintaining your website can be an intimidating proposition. With WordPress alone, it can be difficult to achieve the layout and design aesthetic you need for your site.
Fortunately, there are page builder tools that can help you with this process. These handy plugins provide an easy-to-use method for building a website, without the need to hire a developer. On top of that, they make customization and design a piece of cake.
In this post, we’ll begin by explaining why page builders are useful tools, especially the Beaver Builder plugin. Then we’ll walk through how that particular plugin works, and introduce some of its key features and modules. Let’s get started!
Why You May Want a Page Builder to Customize Your Website
Page builders are WordPress plugins that provide a drag-and-drop interface for building a website. They enable you to create, edit, and customize your website’s layout and design, without writing a single line of code.
A lot of premium WordPress themes come with different page layouts to choose from. However, many of them are difficult to edit without coding experience — which is one reason page builders have become so popular.
Page builders are an excellent way for small and large businesses alike to start a website without hiring a developer. They enable you to do things you can’t do with WordPress alone, such as create page layouts, add widget areas, and implement new navigation menus.
In addition, these solutions provide you with the User Experience (UX) of a site builder, while benefiting from all the advantages of a self-hosted platform like WordPress. A page builder will enable you to take a premium theme you love, and adapt if fully to your needs and specifications.
Getting Started With Beaver Builder
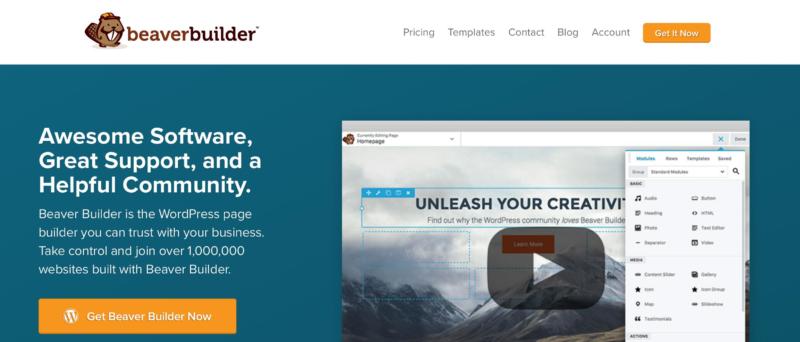
Beaver Builder is one of the top solutions used to build and design WordPress websites. This powerful plugin includes not only a page builder, but also comes equipped with a theme framework. It’s a great way to optimize your workflow, and makes creating a WordPress website simple.
To get started with Beaver Builder, install and activate the plugin in your WordPress admin dashboard. Then, you can familiarize yourself with some of its settings:
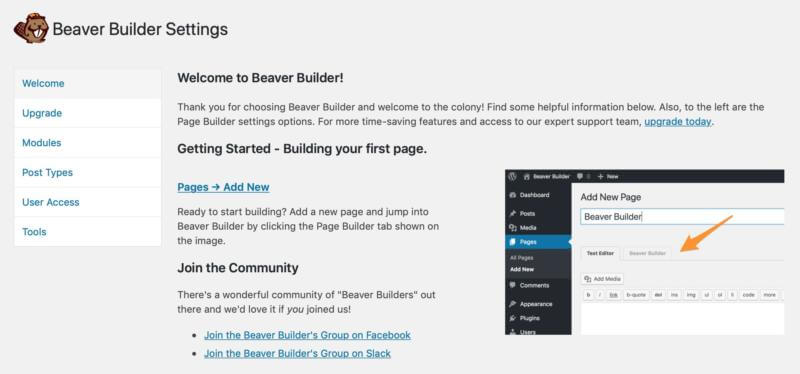
Here, you’ll be welcomed to Beaver Builder and invited to start working on your first page. However, before we go any further, let’s take a look at a few of your other choices.
For example, there’s an option to upgrade the plugin if you’re using the free version, as well as a page where you can decide which modules you’d like to use when building pages. Some of the basic options include Photo, Text Editor, and Video:
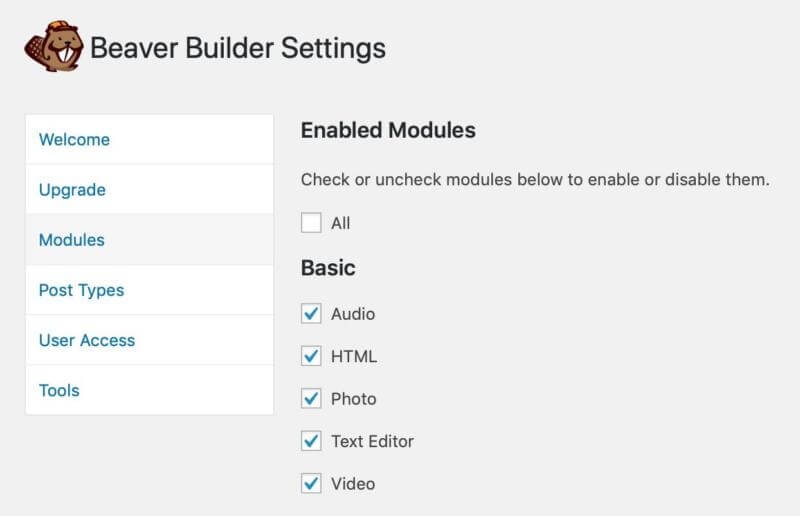
From here, you can also explore your settings for Post Types, User Access, and Tools. These will enable you to choose what types of posts you’d like Beaver Builder to edit, as well as to determine which users will have access to the plugin. You can also browse additional tools as needed.
With your settings sorted out, it’s time to see what the Beaver Builder plugin can do. Return to the Welcome tab, and click on Pages > Add New to start building your first page. When you see the blue button labeled Launch Beaver Builder, click on it and you’ll be taken to the building page:
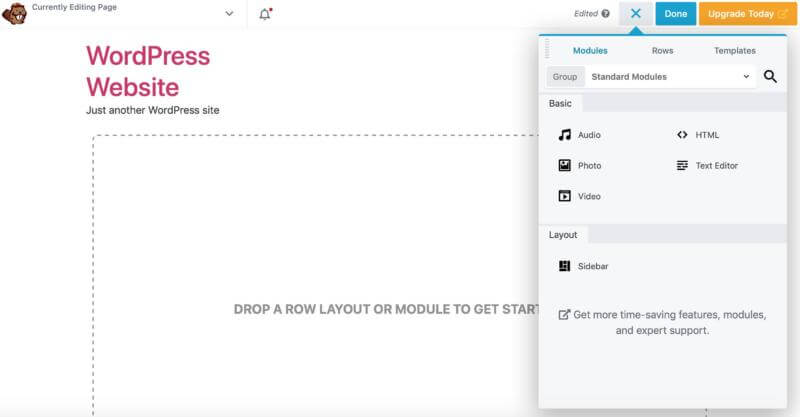
You’ll see that there are a number of things you can do here. For instance, you can add rows and columns to lay out your page how you wish. You can also add modules by simply dragging and dropping them into the desired positions.
Once you’re comfortable with Beaver Builder’s basic functionality, you’ll quickly start to see how useful it can be. In the next section, we’ll discuss some tips for getting the most out of this handy plugin.
How to Customize Your Site Using the Beaver Builder Plugin (3 Key Tips)
As we’ve already seen, Beaver Builder has a lot to offer when it comes to customizing your WordPress website. Below, you’ll find three key tips to help you build quality pages using this plugin. Let’s jump right in!
1. Build Complex Layouts Using Rows and Columns
With Beaver Builder, it’s easier than ever to build complex layouts for your pages. This is a great way to include additional functionality within your main content, while still maintaining a structure that is easy to navigate.
For example, you can place sidebars with links to other popular content on your site. Better yet, you can include a Call to Action (CTA) to help move your users further down your sales funnel. Whatever the application, Beaver Builder provides you with the flexibility to make, test, and implement these types of design decisions in a simple manner.
If you return to your new Beaver Builder page, on the right you’ll see the main menu. One of the tabs at the top is labeled Rows. Click on it, and you’ll be provided with a number of options:
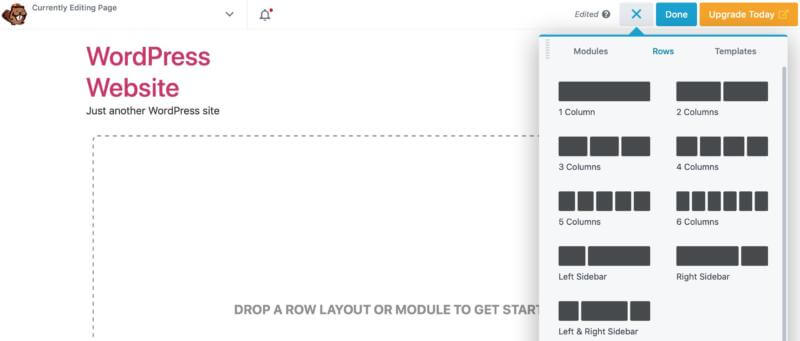
You’ll see right away that you have the ability to lay out your page using up to six columns. Whichever option you choose, all you have to do is click on it, drag it to your page, and drop it in place:
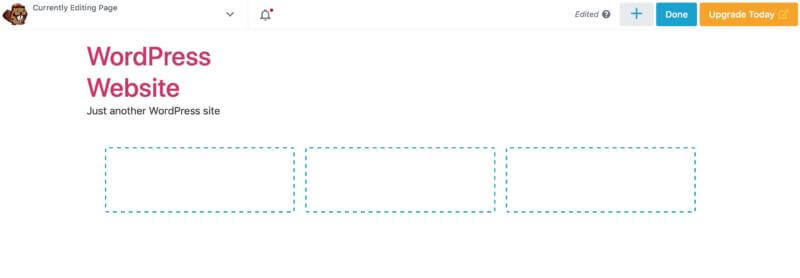
Now you have sections where you can input your content modules. In this way, you can create multi-row and multi-column layouts to suit your needs.
2. Use Pre-Built Templates to Create Your Page Quickly
While you can build pages and posts from scratch, there are also pre-built templates you can choose from. It may be easier to select one of these as a starting point, and then customize it to match your specifications. This way you not only get the page you need, but you also save some time designing it.
Furthermore, many of these pre-built templates are already beautiful websites, so choosing one and then filling in your content can provide a solid launching point. To find them, go back to the menu and click on the Templates tab:
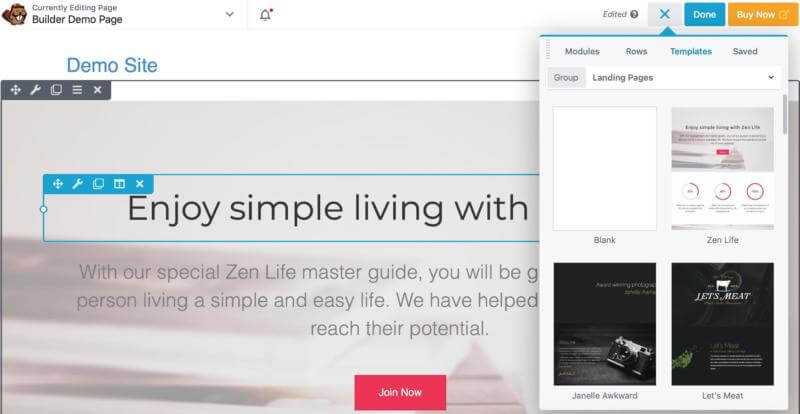
Again, it’s as simple as selecting the template you’d like to try and clicking on it. You’ll immediately see what your new page looks like, and be able to customize each of its elements as much as you’d like. You can even create your own templates, and save them for future use.
3. Enhance Your Website With Powerful Modules
Now, let’s take a look at the different modules you can add to your Beaver Builder pages. There are many available, and they enable you to create everything from creating Frequently Asked Questions (FAQ) pages to CTA buttons. To view your options, simply navigate to the Modules tab:
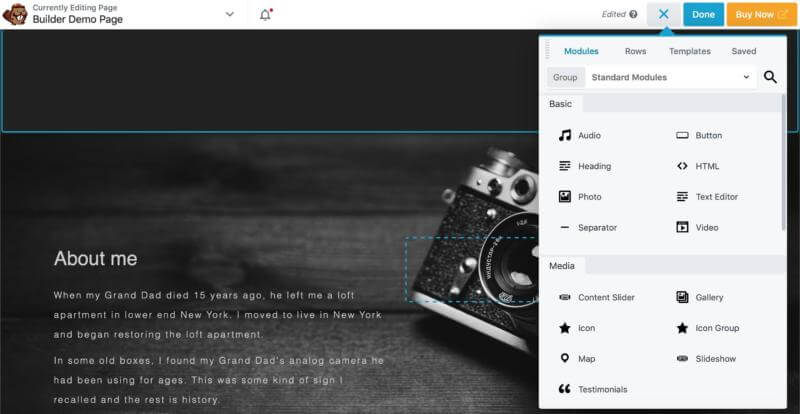
Immediately, you’ll see a list of modules you can use to enhance your website. Once again, all you have to do is select the module, drag it to the desired position on the page, and drop it into place:
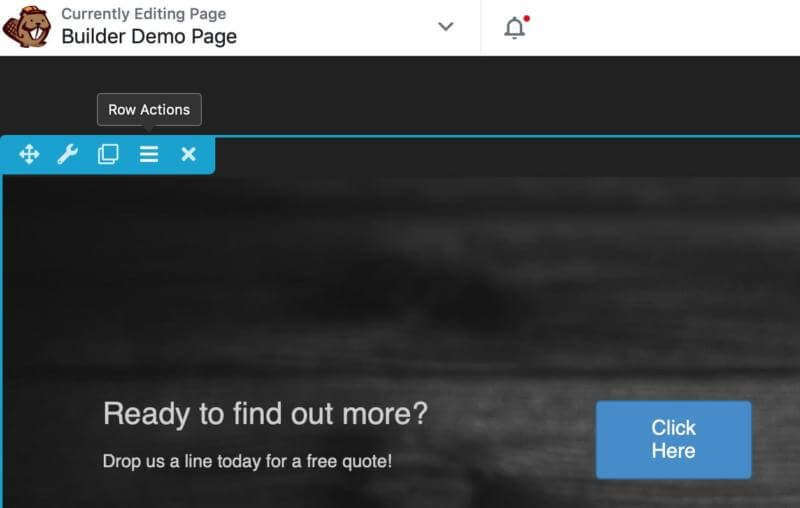
On our page above, we’ve added a CTA module, which we can then customize to match our site’s style and branding. Each module comes with its own unique settings, so you can alter its size, appearance, colors, content, and more.
Beaver Builder Conclusion
When it comes to building a fully-customized website in WordPress without touching a line of code, page builders may be your best option. Beaver Builder, for example, provides an intuitive drag-and-drop interface. Plus, it offers a host of powerful modules to enhance the functionality of your website without any coding required.
A few of the things you can do with this plugin include:
- Building complex layouts using rows and columns.
- Using pre-built templates to create pages quickly.
- Enhancing your website with powerful modules.
Do you have a question about page builders, or customizing your WordPress site using the Beaver Builder plugin? Ask away in the comment section below!
Image credit: Pixabay.

